Apartment Pantry Organization
Most apartments have no pantry, so you build one: a single cabinet, a rolling cart, or a narrow shelf unit, kept usable with open bins and dated labels.
As an Amazon Associate, this website earns from qualifying purchases.
Pick your pantry
A pantry is not a room, it is a decision. Choose one place, put all the dry food there, and stop storing food in four different cabinets. Any of these four works, and none of them needs a landlord's permission.
| Option | Why it works | What to watch |
|---|---|---|
| One cabinet | Free, and already in the kitchen. Pick the cabinet furthest from the stove and give it entirely to dry food. Add a riser so the shelf holds two rows instead of one. | Depth. A rental cabinet is deep enough to lose a bag of rice in. Use pull-out bins so the back is reachable. Browse on Amazon → |
| A rolling cart | The best answer for a kitchen with nothing spare. Three tiers, wheels out for access, tucks into a gap beside the fridge when you are done. | Weight. Load cans on the bottom tier, light packets on top, or it tips when you pull it. Browse on Amazon → |
| A narrow shelf unit | Holds the most for the footprint and can live outside the kitchen entirely — a hallway or the corner of a living room is fine for sealed dry goods. | Sunlight and radiators. Heat and light shorten the life of oil, flour and anything with nuts in it. Browse on Amazon → |
| Over-the-door rack | Uses space that is otherwise dead. Good for spices, packets, tins and small boxes at eye level. | Door thickness and the swing. Measure the door edge, and check the rack still clears the frame when the door closes. Browse on Amazon → |
Group what goes in it by how you cook rather than by food type: breakfast, quick dinners, baking, snacks. Open bins with handles beat sealed boxes, because you pull out a whole group instead of digging. The same principle runs the rest of the room in apartment kitchen organization.
Decanting: worth it or theatre
Matching containers look good in photographs. Some of them earn their place and some are an extra washing-up job with a nicer lid. Here is the honest split.
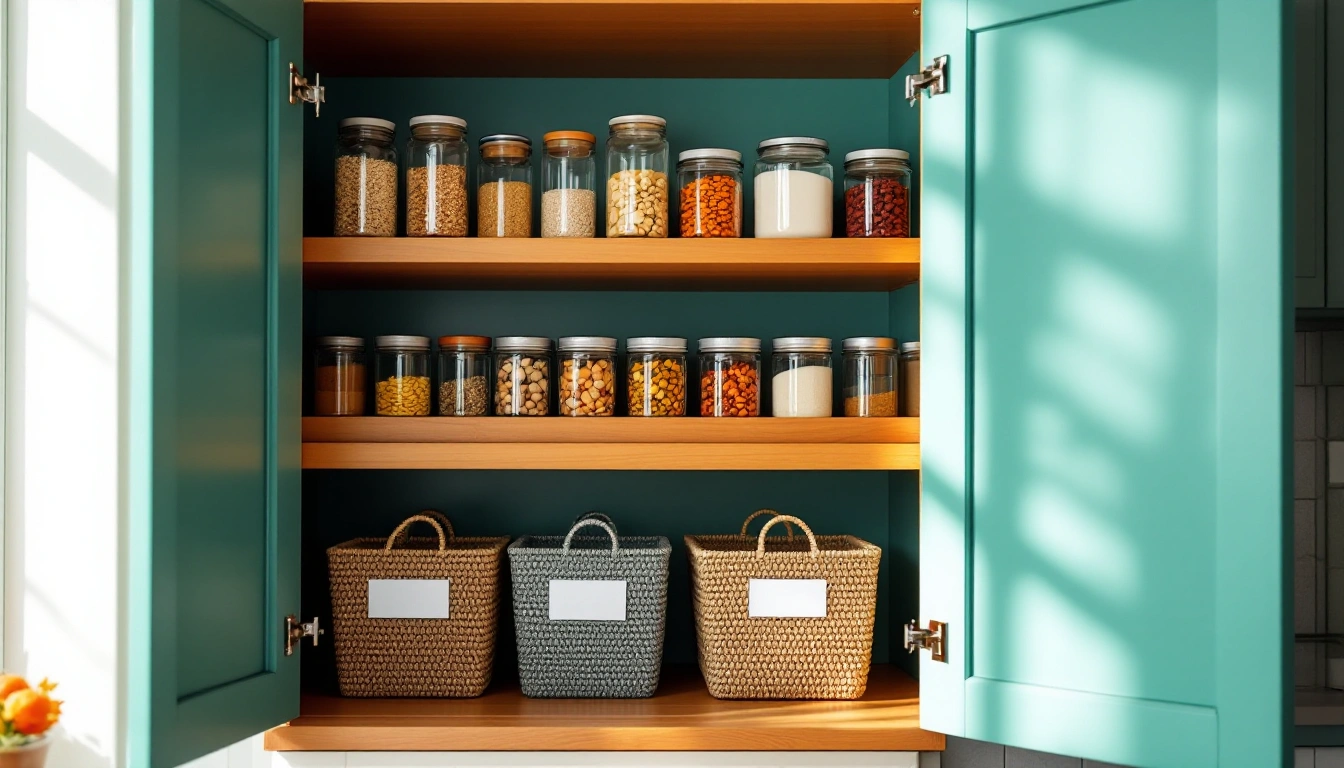
- Flour, sugar, rice, pasta, oats — Worth it. Bags tip, split and go stale. Square airtight containers stack, seal properly and tell you at a glance when you are out.
- Cereal and snacks you finish in a week — Theatre. You are pouring one box into one container and washing an extra thing. The box was already a container.
- Spices — Worth it, once. Matching jars in a drawer insert or a tiered rack is the only way a spice collection stays usable. Do it when you have ten, not when you have three.
- Tins and cans — Never. They are already sealed and dated. Stack them, or use a tiered can riser so you can read the labels at the back.
- Anything you buy in bulk — Worth it. A large bag is unstorable. Decant a working amount into a jar and seal the rest in the original bag inside a bin.
Browse airtight pantry containers on Amazon →
Labels and dates
If you decant, you throw away the date and the cooking instructions. Cut the instructions off the packet and drop them in the container, or write the ratio on the label. Then write two things on every container: what it is, and when you opened it. A roll of masking tape and a marker does the job as well as anything sold for it.
Keep it rotating
A pantry stops working when food gets old at the back, not when it runs out of space. Five habits keep the stock moving, and they matter most for the long-life basics on the pantry staples list.
- New shopping goes behind the old, every time. It takes four seconds and stops the same tin being outlived twice.
- Keep one open packet per type. Two open bags of pasta is how a shelf goes wrong.
- Write the date you opened it on the container in marker, not the date on the packet.
- One shelf, or one bin, is the eat-this-first shelf. Anything close to its date moves there and gets used.
- Check the back of the shelf once a month. That is where things go to be forgotten.
The fridge-adjacent overflow
Every kitchen ends up with a second cluster: the bread, the fruit bowl, the open bag of chips, the things too tall for the shelf. Give it a defined home — a basket on top of the fridge or a bin beside it — rather than letting it spread across the counter. Anything that will not survive a warm week up there belongs in the fridge instead.
Browse kitchen storage baskets on Amazon →